The
Workshop
This is where aircraft stop being ideas and become physical things: damaged structure is opened, measured and repaired; new parts are fitted; covering and finish are prepared; jigs solve awkward problems; and the shop itself keeps changing to support the work.
A workshop designed to change with the job.
The overall view shows both 4 × 8 work surfaces, mobile equipment, aircraft work and open floor area sharing one garage workshop without forcing every task into one permanent setup.

Aircraft first. The shop exists to support them.
The Workshop is not a catalog of tools. Its story begins with the aircraft problem being solved, then shows the fixture, method, measurement or tool that made the solution possible.
Structural recovery
Exposed rear-fuselage and tail structure, greenhouse work, belly access, control-system rebuilding and conservative repair of usable original construction.
Follow the restoration →Build for serviceability
Servo access, wiring routes, hatches, control linkages, battery restraint and other hidden work are solved before covering makes them difficult to reach.
Open the Cub build →Make room for giant scale
A large aircraft cradle, mobile work surfaces, storage and woodworking equipment must coexist with normal garage access rather than turning the shop into one permanent setup.
One room. Several operating modes.
The Workshop has to move between woodworking, giant-scale RC assembly, restoration, electronics support, 3D fabrication and ordinary garage use. That makes mobility and changeover part of the design rather than an inconvenience.
Cutting, shaping, sanding, jigs and structural fabrication.
Full fuselage access, wing handling, control fitting and covering preparation.
Electronics, wiring and calibration stay away from dust-generating operations.
Aircraft, wings, tools and materials remain recoverable without dismantling the entire shop.
The workshop cannot consume every path merely because a project is large.

The ceiling-hoisted aircraft cradle
Giant-scale aircraft need a real work surface, but dedicating floor space permanently to an eight-foot platform would cripple the shop. The answer is a separate 4 × 8 aircraft cradle that can be lowered for work and stored overhead when the floor is needed for something else.


4 × 8 ft
1,219 × 2,438 mm. Large enough to support giant-scale fuselage work without pretending the shop has unlimited floor area.
2 in foam
≈ 50.8 mm foam over a rigid base, giving the airplane a forgiving support surface during construction and restoration.
≈ 3 1/8 in thick
≈ 79.4 mm finished thickness, using a birch frame and sheet base. Approximate cradle mass is in the 100 lb / 45 kg class.
Hoist + redundant safety
The cradle is designed as a lifting system, not merely a tabletop. Cable, attachment, clearance and independent safety provisions require the same discipline as the aircraft work it supports.
Repair surgically. Preserve evidence.
The L-4 restoration established a Workshop standard that applies far beyond one airplane: inspect first, preserve what is sound, expose questionable joints, repair to real structure and leave enough documentation that the work can be understood later.
Document before removal
Photograph, measure and label old parts before they disappear. An obsolete component can still preserve geometry, routing or the original builder's intent.
Return to sound material
Old adhesive is taken back toward clean wood where practical. Gaps are repaired with fitted wood or wood-dust methods appropriate to the joint rather than buried beneath cosmetic filler.
Match adhesive to the job
Epoxy and CA are selected by load case, fit and repair need. The goal is a sound load path—not simply using the strongest-sounding product everywhere.
Do not reinforce by reflex
Added material must justify its weight and consequences. Sound original construction is not replaced merely because new wood would look cleaner.
Concealing the Hardware
The large lower-fuselage access panel needs to remain useful without advertising modern RC hardware on the finished belly. An exposed piano hinge was considered and rejected visually; the selected preparation uses three concealed Robart #310 3/16-inch Super Point Hinges and localized basswood hardpoints.
Current construction sequence
Finalize the fixed panel, moving hatch and temporary 0.85 mm bare-wood seam.
Bond one localized basswood block to each side of every hinge station with a thin, even film of ZAP Z-Poxy 30-Minute Formula.
Locate and drill the Robart hinge holes on one accurate common axis, then dry-fit and verify free downward swing.
Relieve only hidden inside edges if rotation requires it. Remove the hinges for covering and finishing when appropriate, then make the permanent installation only after fit and finish are verified.
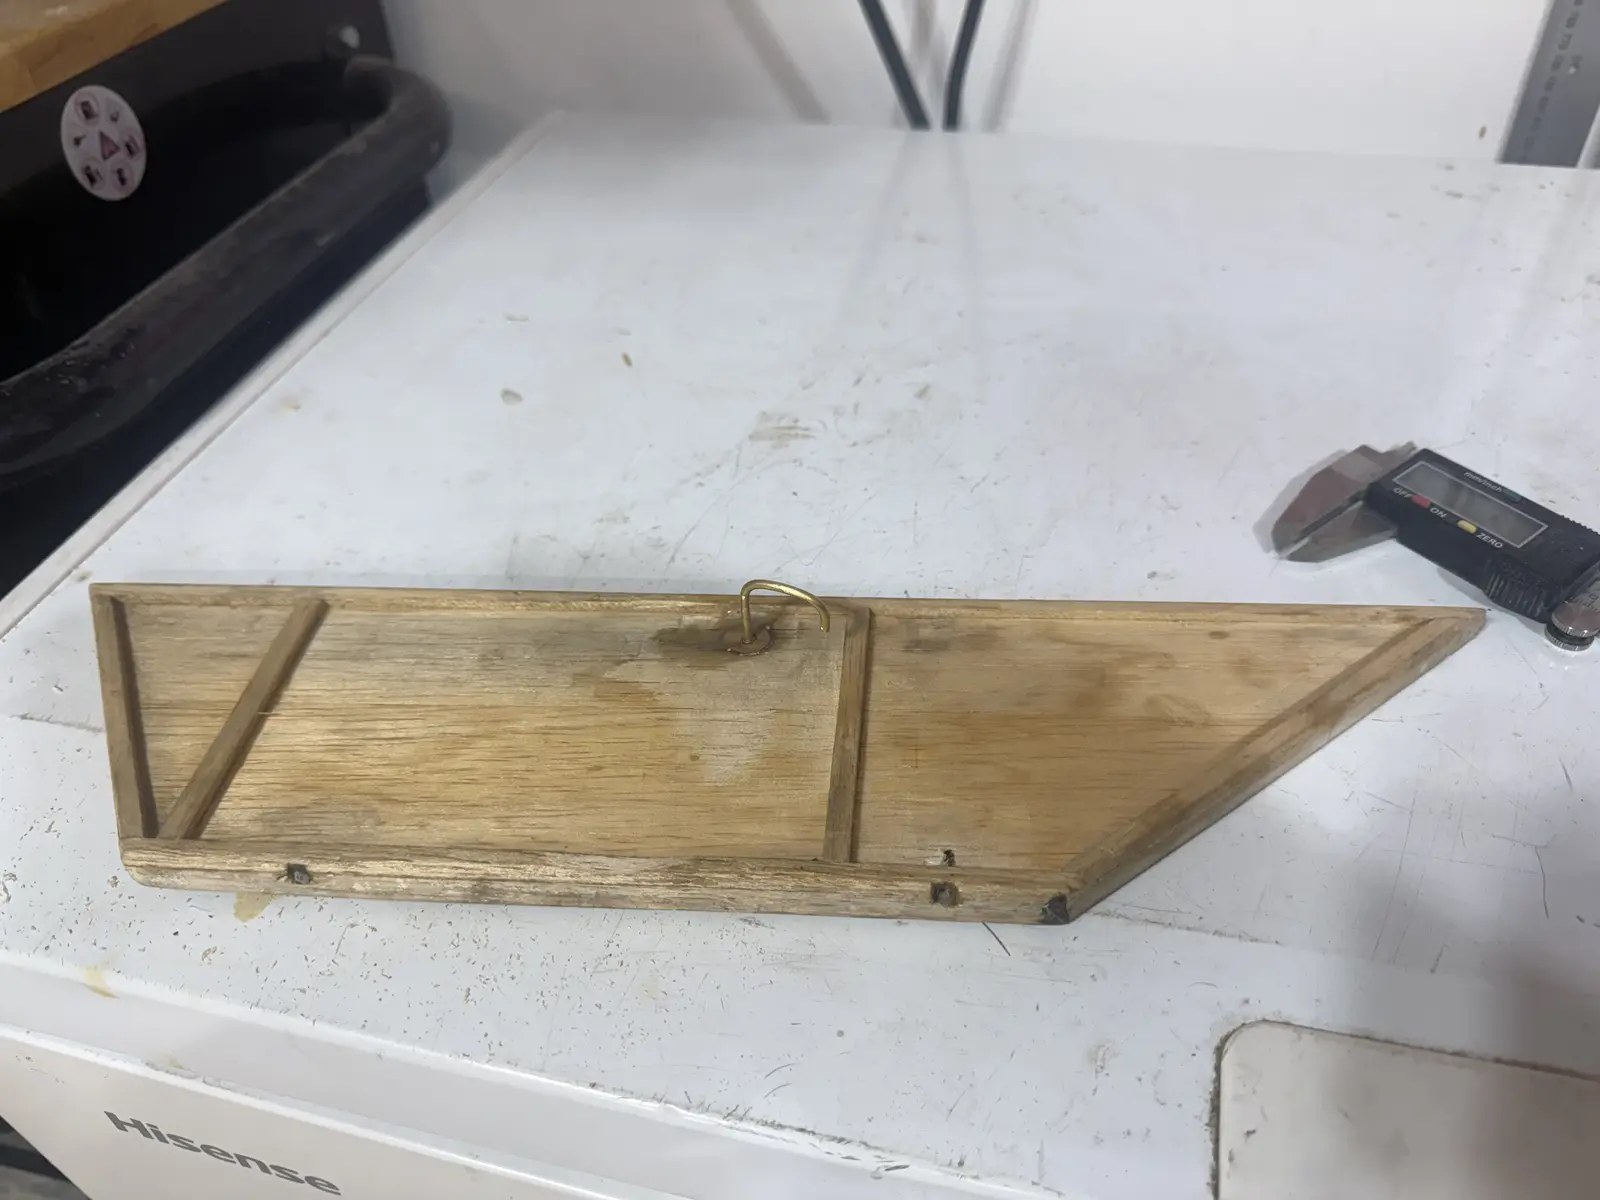
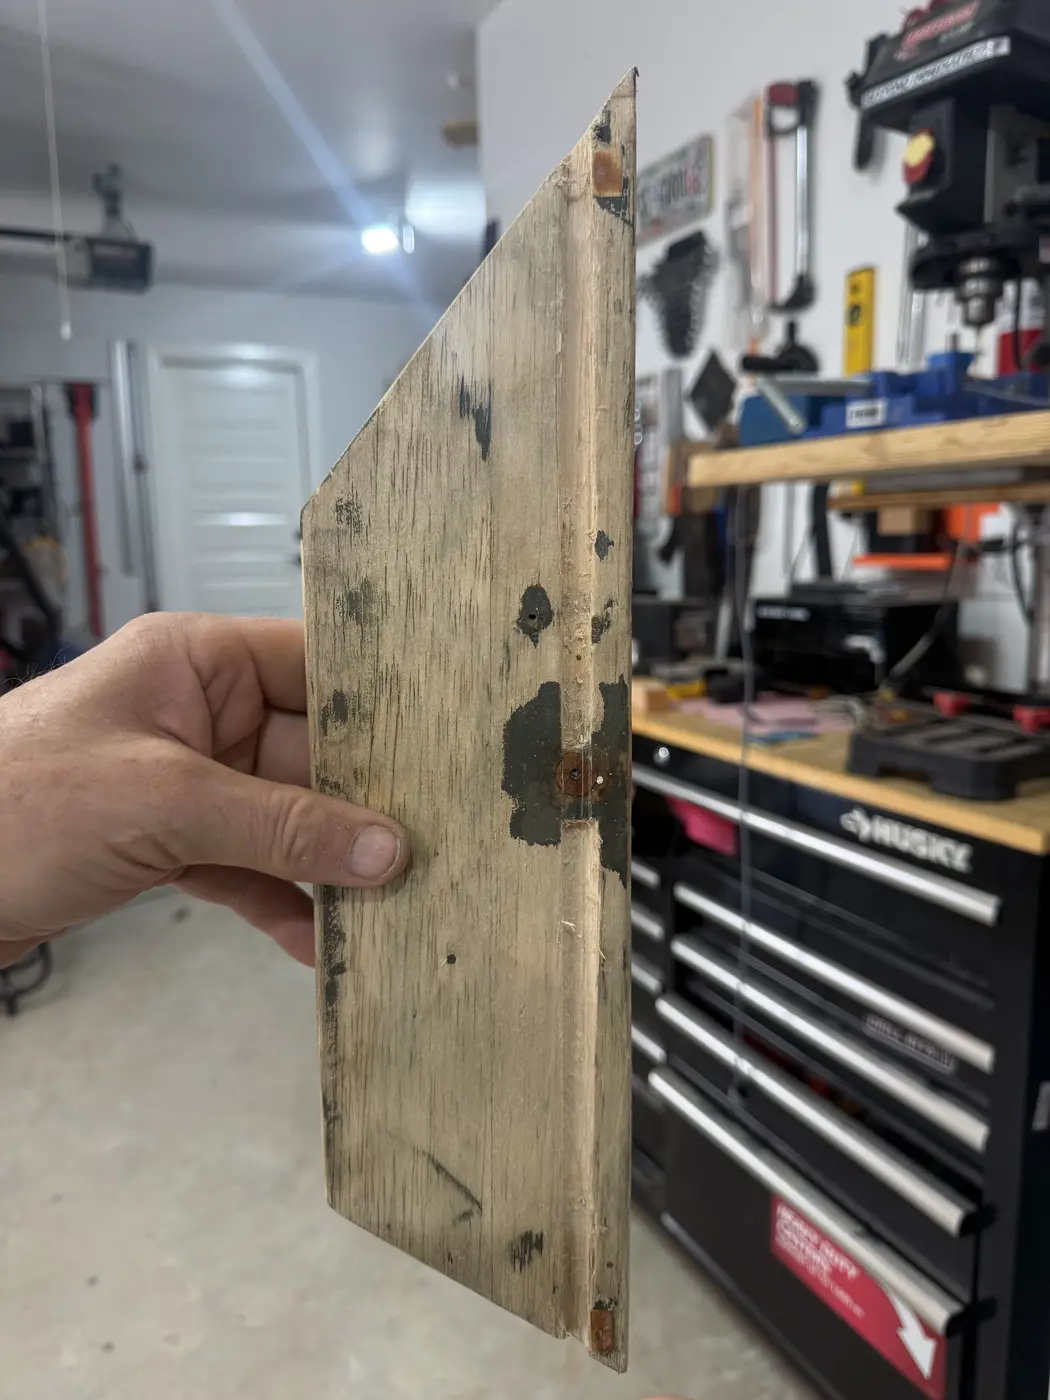
Latch research remains preliminary. MP Jet MPJ 2662 AL and Southco Size 81 hardware were investigated as compact candidates. Neither is presented here as purchased, installed or operational.
The right tool is the one that solves the problem well.
Workshop buying follows a value standard rather than a badge standard: reliability is purchased where failure matters; ordinary ground tools are judged by geometry, usable quality, fit and price before paying for extreme lifetime durability.
4 × 8 Paulk Smart Big Bench
The primary woodworking bench and the separate 4 × 8 giant-aircraft cradle serve different jobs. Both must be usable without collapsing them into one compromise station.
Mobile equipment
Large tools are treated as operating envelopes, not furniture. Infeed, outfeed, dust control and safe movement matter as much as the parked footprint.
Fixtures earn their place
Drill guides, templates, sanding aids, alignment fixtures and 3D-printed supports are useful when they make work repeatable, measurable or safer.
Reliability where failure matters
Flight-critical hardware deserves a different standard from a shop tool that can simply be replaced if it disappoints. The Workshop does not confuse those two risks.


Finding the part later is part of finishing the job.
A growing hangar can own the correct part and still lose time because nobody knows where it was stored. The organization system therefore connects inventory, physical location and labeling instead of treating labels as decoration.
Location and printing workflow for containers, drawers, tools and grouped small parts.
3.5, 6, 9, 12, 18 and 24 mm for the current PT-2730.
Assign location first; print only records ready to use; mark printed only after the label is actually produced and applied.
Future capability, not an implemented whole-hangar system.
Follow the work to the specialist room.
See the restoration as one complete aircraft story. 1/4 J-3 Cub
Follow the new-build decisions that shape Workshop work. Electronics Bench
Move from structure into radio, power and telemetry. 3D Print Lab
Open the fabrication and prototype side of the hangar. Plans Room
Find the controlled technical-document layer. Project Gallery
See selected visual milestones rather than a photo dump.